


How to set up your eero Whole Home WiFi

Get connected in minutes. Use this simple step-by-step guide to set up your Whole Home WiFi.
Before you get started
Think about where you will use the internet the most: the modem and router should be placed as close to this location as possible (Learn how to self-install your modem).
- If you are using the internet over a large area, try to centralize the modem and eero Base in the home for optimal service throughout.
- Place the eero Beacons within 30 ft of the base upon setup. Once setup, you can experiment with placement to ensure coverage where you most often use internet.
- Final placement of the Beacons should be halfway between the Base and any dead zones in the home.
Learn more: How many eeros do I need?
Create an eero Account
- Go to your app store and search for the eero Whole Home WiFi System application.
- Locate the app and press Install.
- Once the app has installed press the Open button.
Upon first opening the eero mobile app, you will be prompted to create an eero account through a guided setup process.
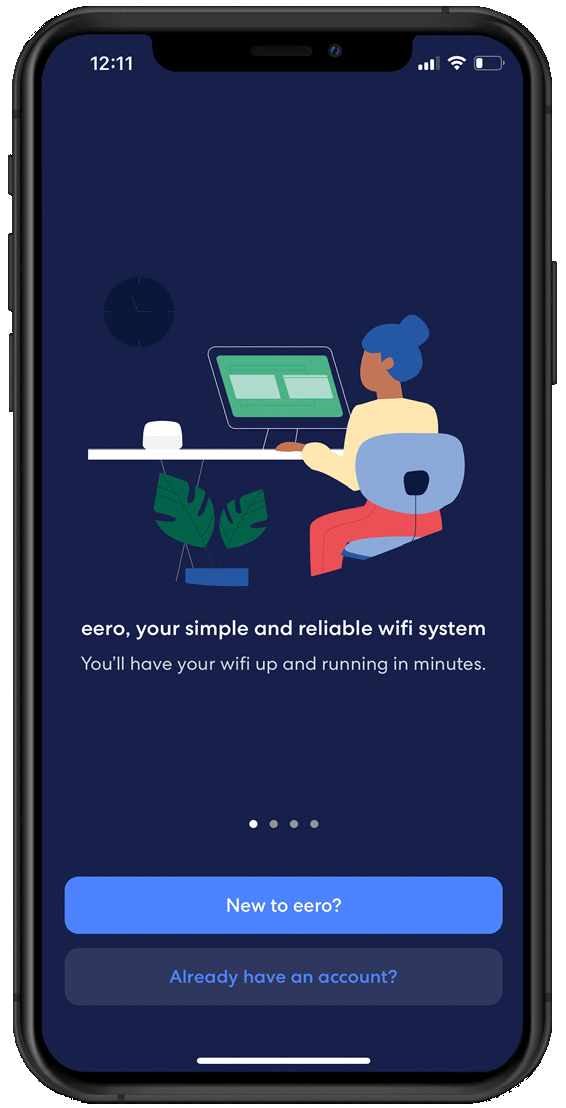
STEP 1
Open the app is open, tap the New to eero? Button.
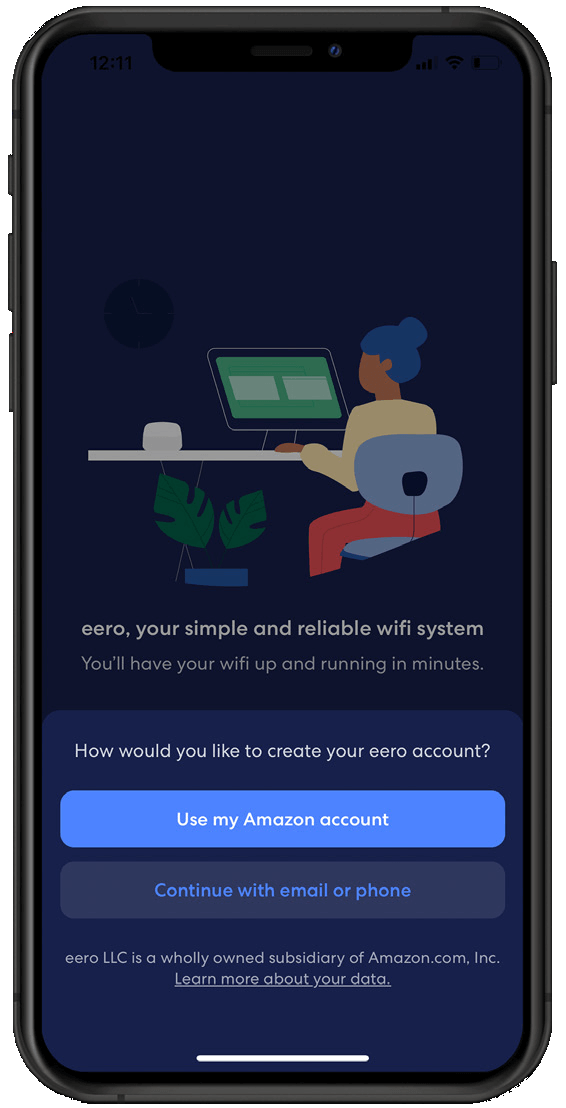
STEP 2
Log in with your existing Amazon account or create a new eero account with your email or phone.
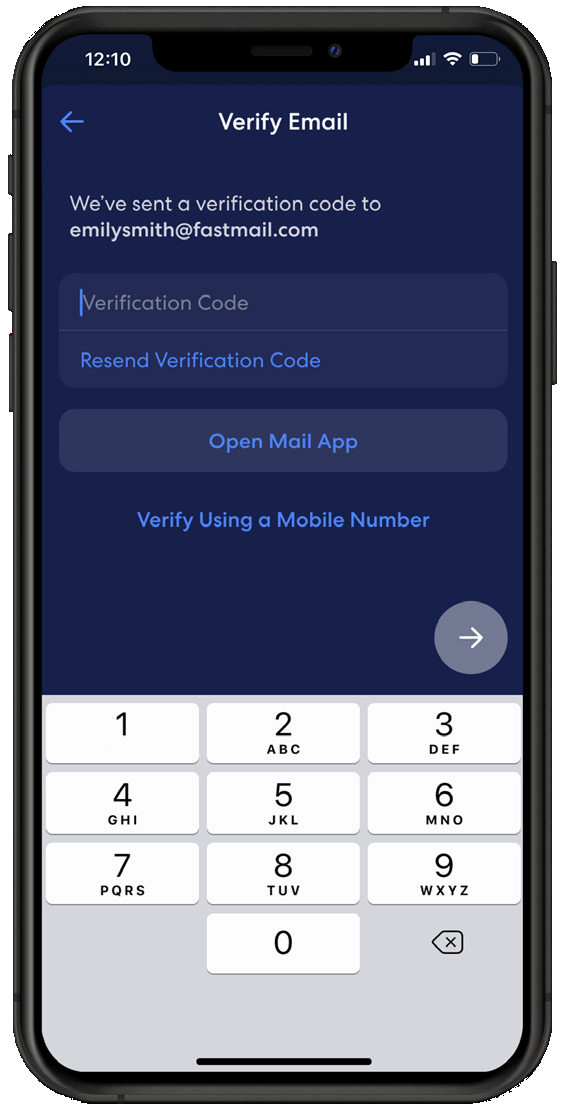
STEP 3
If creating a new account, enter in the verification code sent via SMS or email.
Network Setup
Your gateway is the primary eero device connected to your modem and is needed to establish your network. The eero mobile app will guide you through setting up your eero gateway in the following steps.
STEP 1
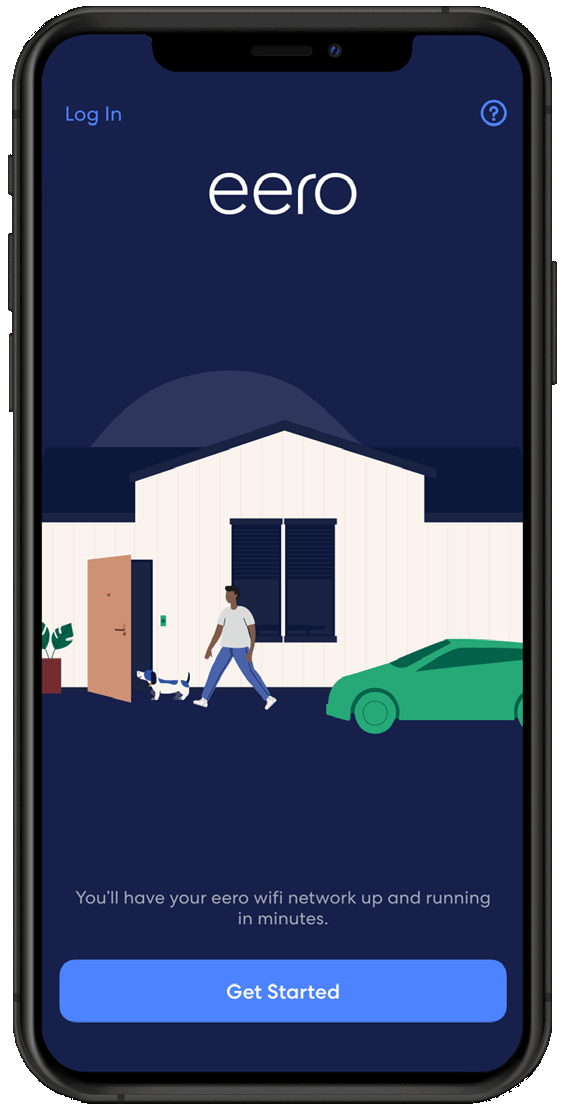
Tap Get Started.
STEP 2
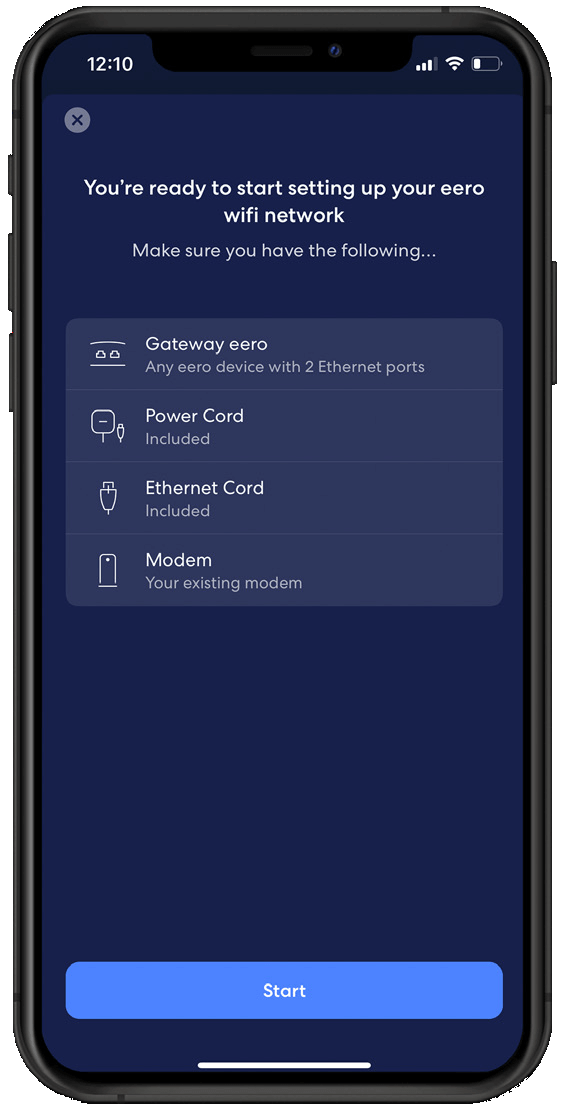
Confirm you have the listed items and tap Start.
STEP 3
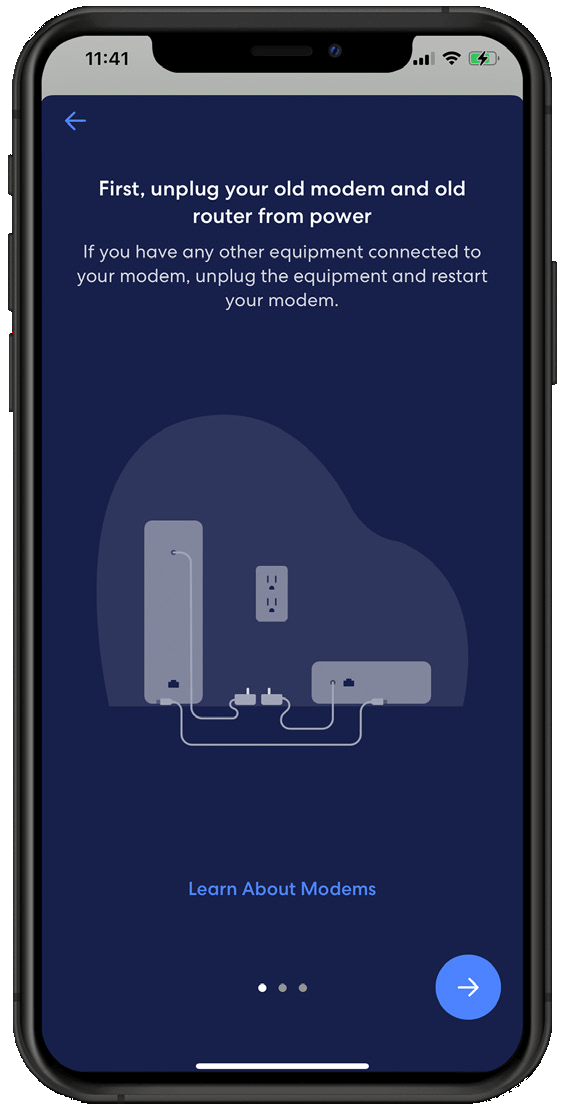
Disconnect your old modem and router from power, then tap the Blue arrow.
STEP 4
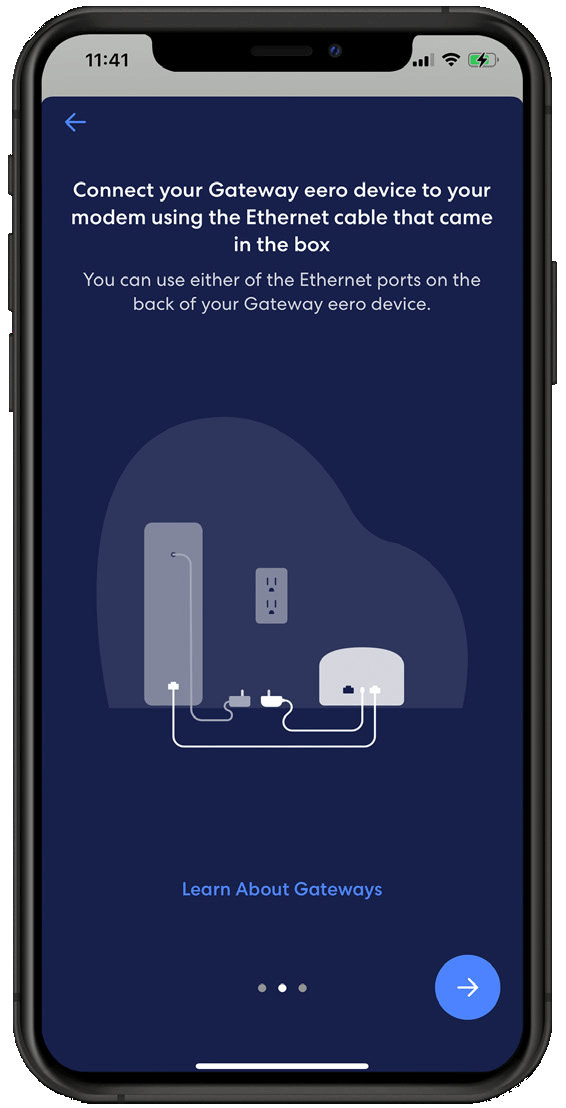
Connect your eero gateway to your router using the provided Ethernet cable and tap the Blue arrow.
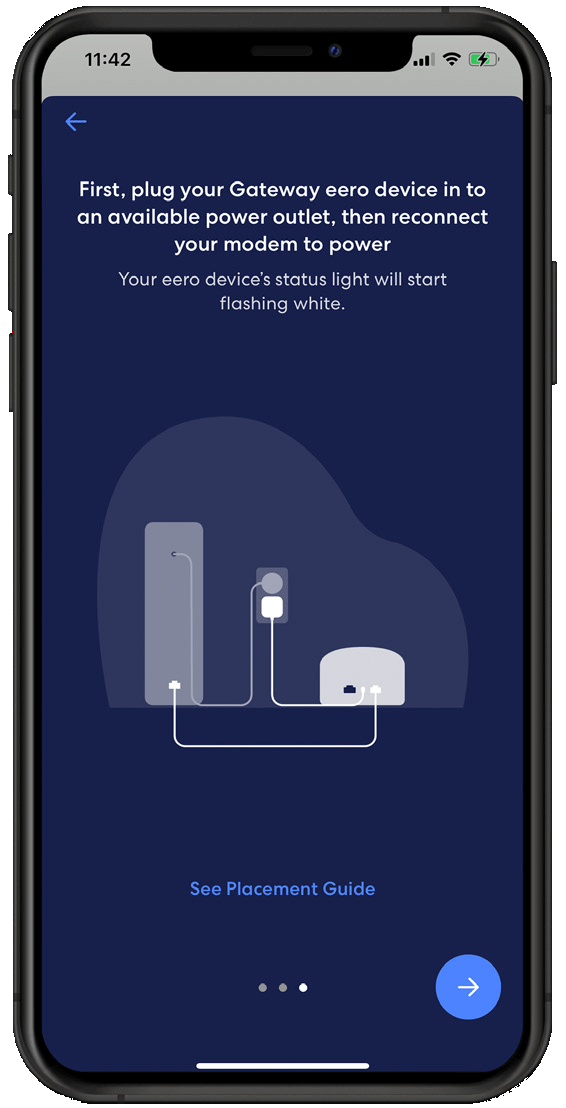
STEP 5
Plug your eero gateway into power, then plug your modem into power, and tap the Blue arrow.
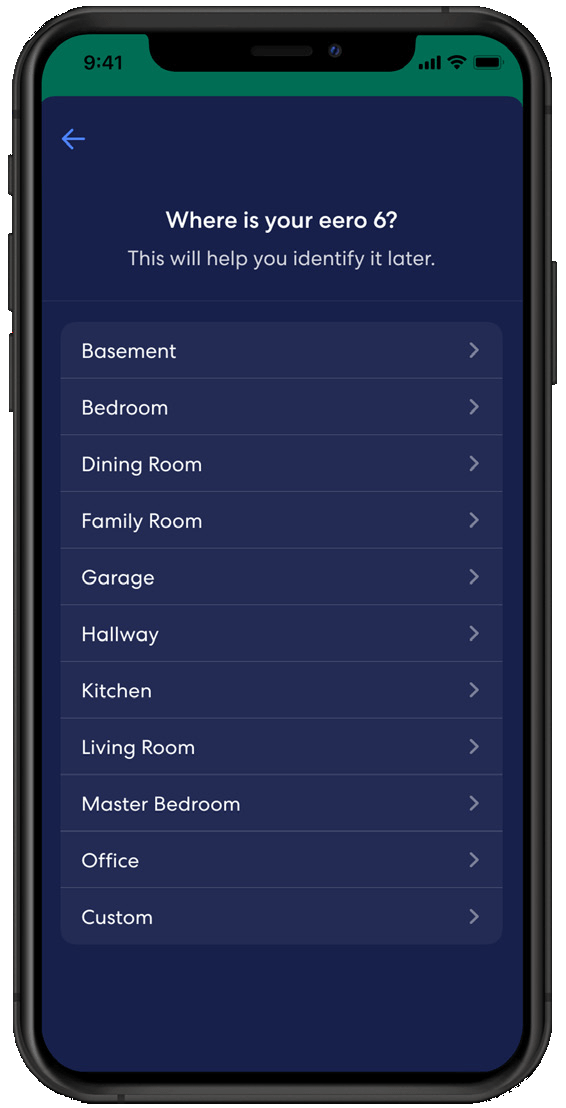
STEP 6
Once your eero gateway is recognized, choose a location for your device.
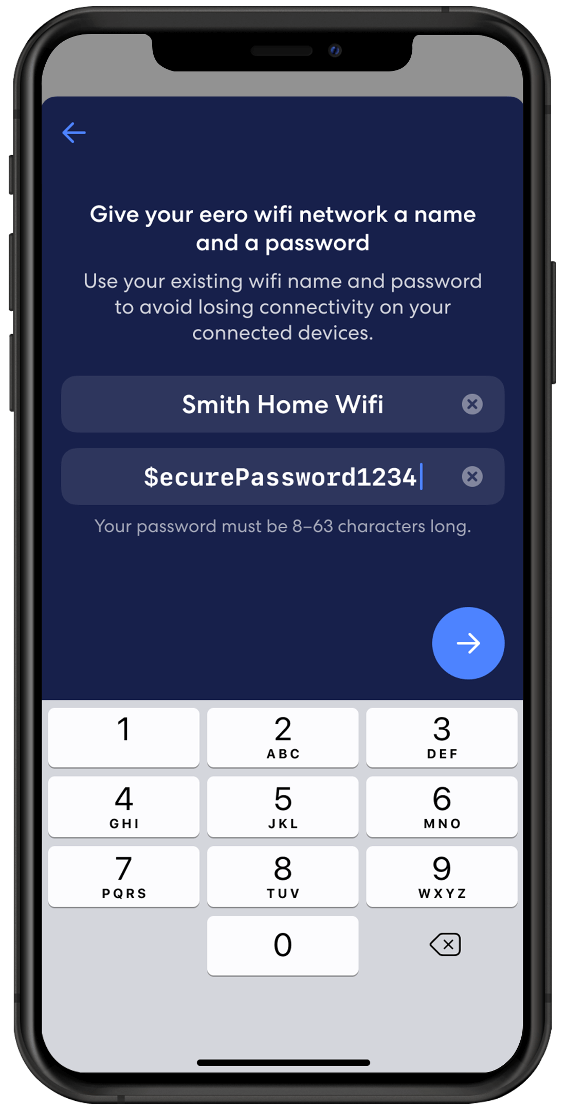
STEP 7
Create a name and password for your wifi network, then tap Blue arrow.
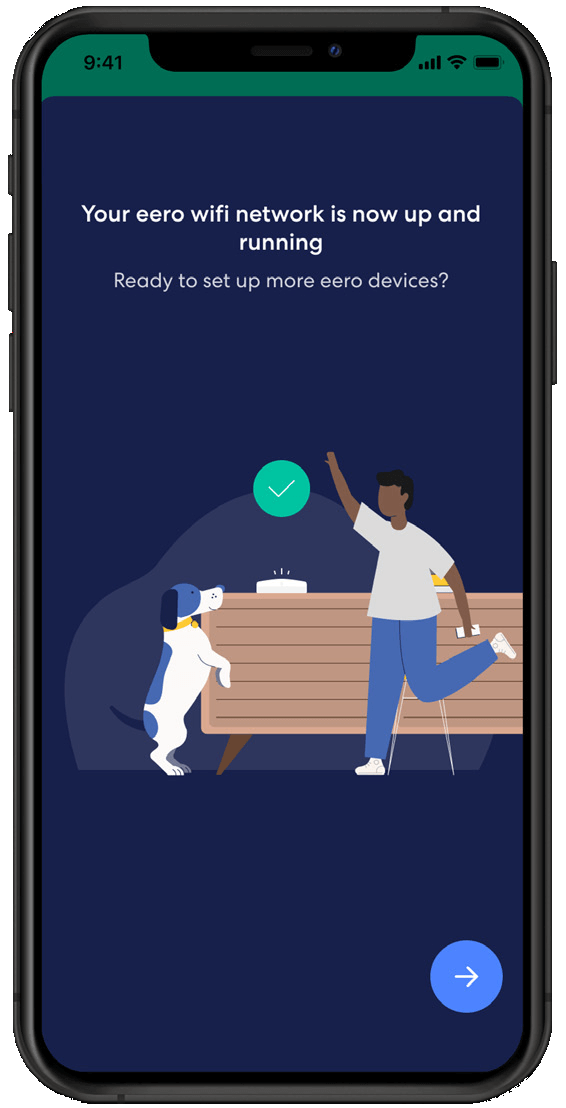
STEP 8
Once your receive the confirmation of a successful setup, tap the Blue arrow.
STEP 9
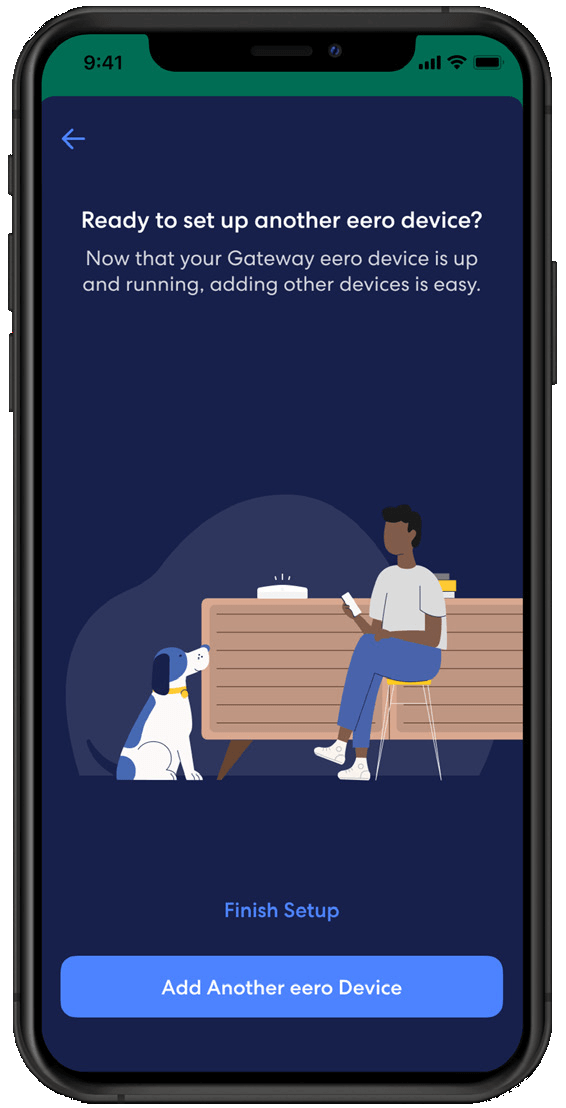
If you are done setting up your network, tap Finish Setup, or select Add Another eero Device to add additional devices.
You’ve now completed all the steps and your Whole Home WiFi is connected and ready to go! For further setup details or to keep a copy for future reference, you can download the Whole Home WiFi Quick Start Guide:
Quick Start Guide PDFQuick Start Guide PDFQuick Start Guide PDFQuick Start Guide PDF
Additional resources
If you need assistance after your installation, please don’t hesitate to contact us at 1-800-427-8686 or astound.com/support; our customer service agents are available 24 hours a day, 7 days a week.
most popular resource
Optimize your internet speed
Is WiFi interference slowing your internet speeds? Here are a few tips to optimize and maximize your home’s high speed internet performance.
Quick links
Looking for something else?
Check out Astound Support Center for all help and support related information.
*Internet speeds may vary & are not guaranteed. Certain equipment may be required to reach advertised speeds. DOCSIS 3.1 modem with 2.5GE physical LAN port is required for 1 Gigabit speeds and higher. See astound.com/yourspeed for why speeds may vary. To view Astound’s FCC Network Management Disclosure see astound.com/policies-disclaimers. Limited time offer, subject to change without notice. Advertised promotional price valid for duration of the stated promotional period from time of service activation. Regular rates apply after promotional period ends. Equipment not included and is extra. Modem required for Internet service. Enhanced Wi-Fi or Whole Home Wi-Fi (eero) not included and is add’l. Offer includes a monthly discount for enrollment in both automatic payments (autopay) & paperless billing (e-bill). Discount of $10 applies with automated bank account deduction or a discount of $5 applies with automated credit/debit card payment. Valid email address required. Must complete enrollment in autopay and e-bill within 30-days of placing the order. Without enrollment, the discount does not apply. Discount appears on bill within 3 bill cycles after enrolling. If either autopay or e-bill is canceled, services are changed, or the account is not in good standing, then the monthly discount will be discontinued. Offer valid only for new residential Astound customers or previous customers with an account in good standing who have not had Astound service within the last 60 days. Any add’l services, equipment, premium channels & other tiers of service are subject to an add’l charge & regular increases. A one-time activation fee of $14.99 (in addition to any installation fees) will be charged & is subject to change. Add’l fees apply for taxes & surcharges, and are subject to change. WA RESIDENTS: unless otherwise specified, price does not include a 2% Regulatory Administration Fee. For details about taxes, fees & surcharges visit astound.com/fees. No early termination fees apply in the event service is terminated in advance of the promotional end date. Customer is responsible for any accrued service charges in the event service is canceled. Subject to credit check. Not all services & speeds are available in all areas. A multi-product discount may be available to qualifying addresses with a subscription to mobile, TV, and 600 Mbps Internet or higher. Discounts will be reflected in your order cart at time of purchase, if available. Other restrictions may apply. All services are governed by the Astound Customer Terms & Conditions that can be found at astound.com/policies-disclaimers. © 2025 Radiate HoldCo, LLC d/b/a Astound Broadband. All rights reserved.